

You can reverse image search any photo right now using Google Lens or, if that comes up empty, a specialist engine like TinEye. On desktop, open Google Images and click the camera icon, or right-click any photo in Chrome and select “Search with Google Lens.” On mobile, tap the Lens icon inside the Google app or Chrome and snap or upload a picture.
If you want to jump straight to a tool, start here:
- Google Lens — fastest, best for general photos, works on desktop and mobile.
- TinEye — best when you need to know where an image first appeared online.
- SauceNAO — best for anime, illustrations, and fan art Google usually misses.
Key Takeaways
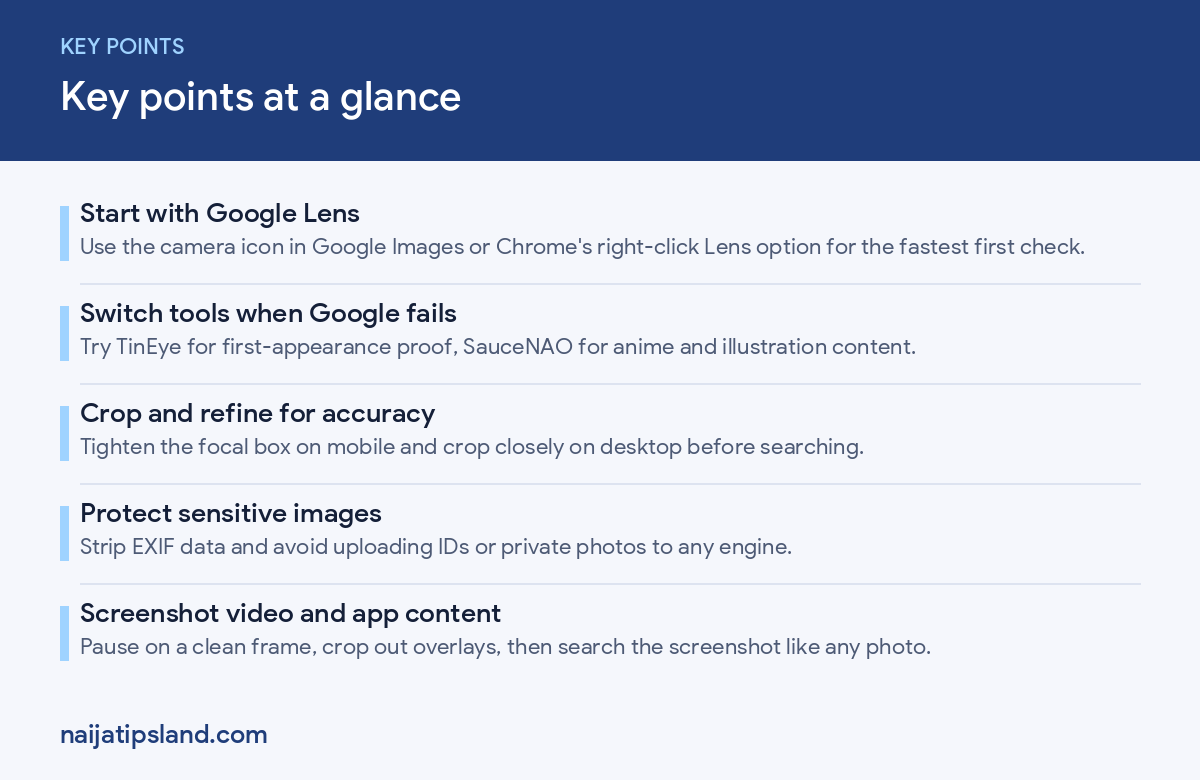
Running a reverse image search takes under a minute using Google Lens, and switching to TinEye or SauceNAO solves most cases where Google’s index comes up empty.
| Point | Details |
|---|---|
| Start with Google Lens | Use the camera icon in Google Images or Chrome’s right-click Lens option for the fastest first check. |
| Switch tools when Google fails | Try TinEye for first-appearance proof, SauceNAO for anime and illustration content. |
| Crop and refine for accuracy | Tighten the focal box on mobile and crop closely on desktop before searching. |
| Protect sensitive images | Strip EXIF data and avoid uploading IDs or private photos to any engine. |
| Screenshot video and app content | Pause on a clean frame, crop out overlays, then search the screenshot like any photo. |
Table of Contents
- What Is Reverse Image Search and When Should You Use It?
- How Do You Reverse Image Search on a Desktop Browser?
- How Do You Reverse Image Search on Mobile?
- Which Alternative Tools Should You Try When Google Comes Up Short?
- Practical Tips to Improve Your Search Accuracy
- Why Do Reverse Image Searches Sometimes Fail?
- What Should You Know About Privacy Before You Upload an Image?
- How Do You Reverse-Search a Video Frame or a Social Media Post?
- When Is a Paid Verification Tool Worth the Cost?
- How Do You Read and Interpret Your Results?
- What Are the Legal and Ethical Limits of Reverse Image Search?
- Staying Informed Means Verifying What You See
- Frequently Asked Questions
- Sources
What Is Reverse Image Search and When Should You Use It?
Reverse image search flips the usual process: instead of typing words to find pictures, you feed in a picture to find information about it. The engine scans its index for matching or visually similar photos and hands you back the pages where they appear.
You will reach for it most often to:
- Trace a photo back to its original source or photographer.
- Check whether an image is being reused without permission.
- Find a higher-resolution version of a picture you only have as a thumbnail.
- Identify an unfamiliar object, landmark, or product in a photo.
Media-literacy researchers treat this as a core verification skill, not a novelty trick. It’s often the fastest way to catch a recycled photo before it fools you.
How Do You Reverse Image Search on a Desktop Browser?
Google gives you three practical routes on desktop, and Chrome adds a fourth shortcut baked into the browser itself. Google’s own support documentation lays out the upload, URL, and drag-and-drop methods clearly.
- Go to images.google.com and click the camera icon in the search bar.
- Choose “Upload a file” to search a photo saved on your computer, or “Paste image URL” if the photo is already live on a website.
- Alternatively, drag the image file directly from your desktop into the Google Images search box.
- In Chrome, skip all of that: right-click any image on a webpage and select “Search with Google Lens.” Results open in a sidebar without leaving the page.
- Scan the results for matching pages, similar images, and any AI-generated overview Google supplies about the subject.
- Type a keyword into the search box above the results (like “protest” or “product name”) to narrow a crowded results page.
Pro Tip: Use “Paste image URL” instead of downloading and re-uploading when you can. It keeps the original file’s context attached, which sometimes surfaces the source page faster than a re-uploaded copy.
How Do You Reverse Image Search on Mobile?
Full Google Lens features live inside the Google app and Chrome. Safari and some other mobile browsers only offer a stripped-down version, so switch apps first if your results look thin.
- Open the Google app or Chrome and tap the Lens camera icon inside the search bar.
- Snap a new photo or upload one from your gallery.
- Drag the focal box that appears around the specific object or face you care about. This manual adjustment tells Lens exactly what to analyze instead of guessing at the whole frame.
- Review the matches, similar images, and any text Lens pulls from the photo.
For photos already saved on your phone, Google Photos works just as well: open the image, tap the Lens icon at the bottom of the screen, and let it analyze the shot. You’ll need to grant gallery access the first time.
- Prefer the Google app for quick day-to-day lookups.
- Prefer Chrome when the image is already open in a browser tab.
- Prefer Google Photos for images you’ve already saved or screenshotted.
Pro Tip: On busy or cluttered photos, always drag the focal box tighter around your subject. Lens searches whatever falls inside that box, so a loose selection pulls in noise from the background.
Which Alternative Tools Should You Try When Google Comes Up Short?
Google isn’t the only index, and it isn’t always the best one for every kind of image. Search Engine Journal recommends rotating through multiple engines because each one crawls and ranks the web differently.
- TinEye — tracks over 85.3 billion images, and its sorting filters (largest image, most changed, oldest first) make it the strongest option for proving where a photo first appeared.
- Bing Visual Search — pulls from a different index than Google entirely, so it occasionally surfaces matches Google misses.
- Yandex Images — indexes Eastern European and Russian-language sites more thoroughly than most Western engines.
- SauceNAO — built specifically for anime, illustrations, and fan art, where general engines often draw a blank.
- FindSource — aggregates results across several engines at once, useful when a single search keeps stalling.
Try alternatives whenever Google returns zero matches, the content is niche artwork, or you need archival coverage Google’s index simply doesn’t reach.
Practical Tips to Improve Your Search Accuracy
Small adjustments before you search matter more than which engine you pick. Engadget’s guide points to cropping and resolution as the two biggest accuracy levers most people ignore.
- Crop tightly to the object, face, or product you actually care about.
- Use the highest-resolution version of the image you can find.
- Grab screenshots from multiple video frames or angles if one search fails.
- Strip sensitive EXIF data before uploading anything personal.
- Search alternate crops or sizes if the first attempt returns nothing useful.
Pro Tip: Add a short keyword, like the brand name or event, right after your Lens search results load. Combining visual and text search converges on the source far faster than either method alone.
Why Do Reverse Image Searches Sometimes Fail?
A blank results page usually comes down to one of a few causes: the image isn’t indexed yet, the source site blocks crawlers, the photo has been heavily edited or cropped, or it’s low resolution to begin with.
- Try a completely different engine, since indexes and crawl coverage vary by region and platform.
- Search a screenshot from a different moment or angle if you’re working from video.
- Add keywords describing the scene instead of relying on the image alone.
- Inspect the image manually for watermarks, timestamps, or embedded text that hints at the source.
Indexing delays and geographic coverage gaps explain a lot of “no results” pages that look like a dead end but aren’t.
What Should You Know About Privacy Before You Upload an Image?
Whatever you upload gets processed by that engine’s servers, and privacy policies differ from one tool to the next. TinEye states it does not save the images you search, which makes it a safer pick for sensitive checks than tools with looser data policies.
- Strip EXIF metadata before uploading anything that reveals location or device details.
- Never upload ID photos, private documents, or images containing other people’s personal information.
- Use local or offline tools when the image is genuinely sensitive.
Pro Tip: Test your workflow on a harmless, non-sensitive copy first, and consider searching a screenshot instead of the original full-resolution file when privacy matters.
How Do You Reverse-Search a Video Frame or a Social Media Post?
Video and app-based content need one extra step before you can search it, since you can’t feed a moving clip directly into Lens.
- Pause the video at the clearest frame and take a full-resolution screenshot.
- Crop out any captions, timestamps, or watermark overlays before searching.
- Run the cleaned screenshot through Google Lens or upload it to TinEye.
For posts inside apps like Instagram or TikTok, screenshot the image directly (or download it if the app allows), then search it the same way. Zapier notes that screenshotting video frames is a reliable workaround since heavy compression on some platforms can degrade match quality.
Pro Tip: Crop out UI clutter like usernames and reaction icons before searching. A cleaner frame gives the engine less noise to sort through.
When Is a Paid Verification Tool Worth the Cost?
Free tools handle most everyday checks, but some situations justify paying for more firepower.
- Copyright enforcement — you need proof of first use to send a takedown notice.
- Legal chain-of-custody cases — a court or client needs a documented, timestamped history of an image.
- PR incidents — a viral photo needs rapid, defensible verification before your response goes out.
- Large-scale deepfake detection — bulk checking across hundreds of images requires automation, not manual searches.
Paid tiers typically add larger indexes, historical first-seen detection, downloadable reports, and API access for bulk lookups. Weigh the cost against what’s actually at stake before upgrading. Services like TinEye’s paid tier and aggregators like FindSource are reasonable starting points once free tools stop being enough.
How Do You Read and Interpret Your Results?
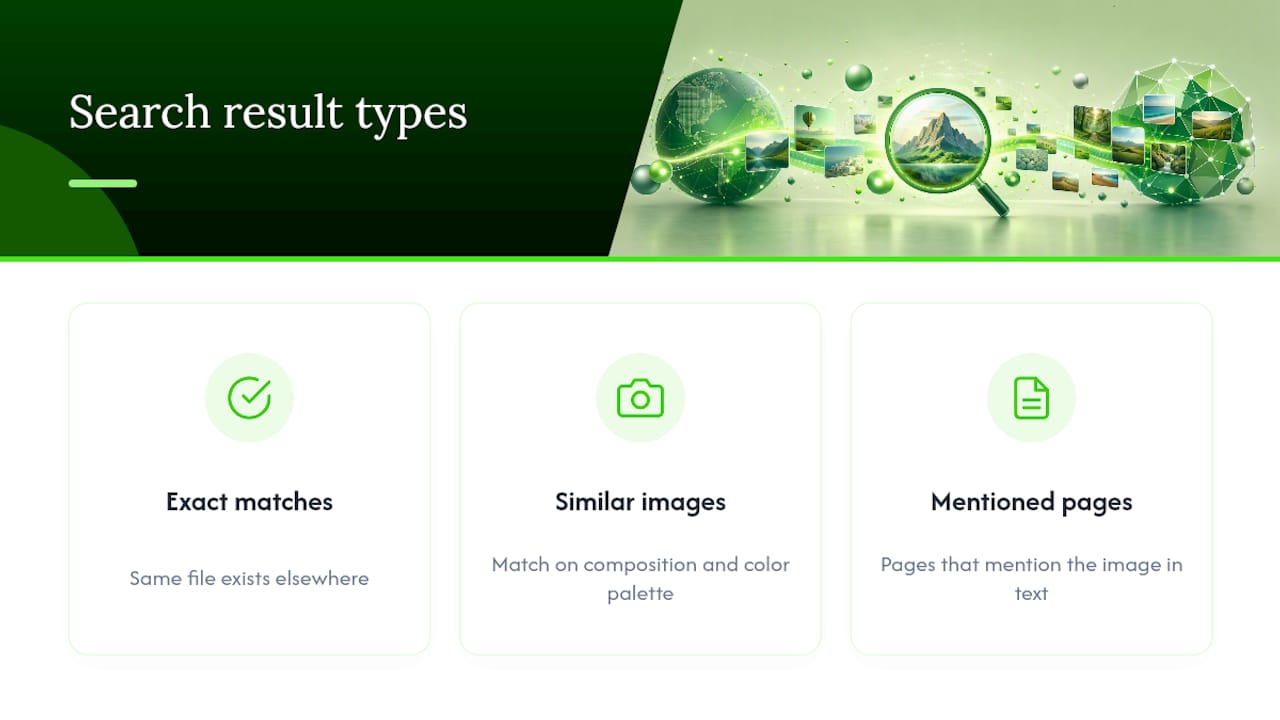
A results page is only useful if you know what you’re looking at. Most engines split results into a few categories: exact matches, visually similar images, and pages that mention the image in text. Each tells you something different.

Exact matches confirm the same file exists elsewhere, which helps you trace reuse or find the original upload. Similar images matter when the exact photo isn’t indexed. Engines match on composition and color palette rather than pixel-for-pixel identity, so a “similar” result might show the same subject shot from a different angle or a heavily edited version of the original.
Pay attention to dates. If a page claims a photo shows a current event but the earliest matching result is dated years earlier, that’s your first red flag. TinEye’s sort-by-oldest feature exists specifically for this kind of check, letting you see which version of an image surfaced first.
Also check who’s hosting the match. A stock photo site, a news outlet, and an anonymous forum post carry very different weight as sources. If the earliest instance you find is a stock photography site, you’ve likely found a generic image being passed off as something it isn’t, a common tactic in marketplace scams and misleading social posts.
When results conflict or feel thin, run the same image through a second engine. Google, TinEye, and Bing don’t share the same index, so cross-checking often resolves ambiguity that a single search leaves open. For a deeper look at spotting altered or misattributed claims once you’ve traced an image, see this guide to spotting fake news.
What Are the Legal and Ethical Limits of Reverse Image Search?
Running a reverse image search is not itself a legal gray area. You’re simply querying a public search index, the same way you would with a text search. Where things get complicated is what you do with what you find.
Downloading and reusing someone else’s photo without permission can violate copyright even after you’ve confirmed who took it. Finding the original source is a first step toward proper attribution or licensing, not a substitute for it. If you’re building a business listing or marketing material, understanding how image sourcing affects SEO and trust matters just as much as verifying the photo’s origin.
There’s also a personal-privacy dimension. Reverse-searching a photo to identify a private individual, especially without their knowledge, raises ethical questions even when it’s technically legal in most jurisdictions. Use the technique to verify claims, catch scams, and check authenticity, not to track or expose people who haven’t made themselves public figures.
On the flip side, reverse image search is one of the most effective tools available for catching fraud. Marketplace scams frequently reuse stock photography or stolen product shots, and stock photos are a well-documented red flag in fraudulent listings. Running a suspicious listing’s main photo through TinEye or Google Lens before you send money is a two-minute check that can save you from a costly mistake. If you deal with scams regularly, this guide to avoiding internet scams covers more ground beyond image checks alone.
Publisher Note: Why We Wrote This Guide
Naijatipsland covers a lot of fast-moving news and entertainment content, and misattributed or recycled images show up constantly in what our readers encounter online. This guide exists because knowing how to trace a photo’s source takes minutes and saves you from sharing something false… For more on spotting misinformation before it spreads, check our guide to avoiding misinformation.
Staying Informed Means Verifying What You See
Naijatipsland exists to help Nigerians make sense of trending stories, entertainment news, and current affairs before passing them along. A reverse image search takes thirty seconds and can stop a false claim before it spreads through your timeline. If you want to go deeper on staying accurately informed, our breakdown of what current affairs means and why it matters is a good next stop, alongside our ongoing discussion forum where readers cross-check trending stories together.
Frequently Asked Questions
Is reverse image search free to use?
Yes. Google Lens, TinEye, Bing Visual Search, Yandex, and SauceNAO all offer free searches. TinEye and some aggregators offer paid tiers with bulk API access for professional use.
Can I reverse image search a screenshot?
Yes. Screenshots work fine with Google Lens and TinEye, though cropping out timestamps, captions, and app overlays first improves match accuracy.
Why does Google Lens show similar images instead of the exact photo?
The exact file may not be indexed, so Lens matches on composition and color instead. Adding a keyword to your search often narrows results toward the actual source.
Does reverse image search work on private Instagram or Facebook photos?
Generally no. If a photo sits behind a login wall, most engines can’t crawl or index it, so you’ll need a screenshot to search it manually.
What’s the difference between Google Lens and TinEye?
Google Lens is faster and better for general everyday photos. TinEye specializes in tracking first appearance and reuse across its indexed archive of over 85.3 billion images, making it stronger for verification work.
Sources
- Ctrlq / Labnol — Reverse image search guide
- TinEye Reverse Image Search
- Engadget — How to trace a picture’s origin with reverse image search