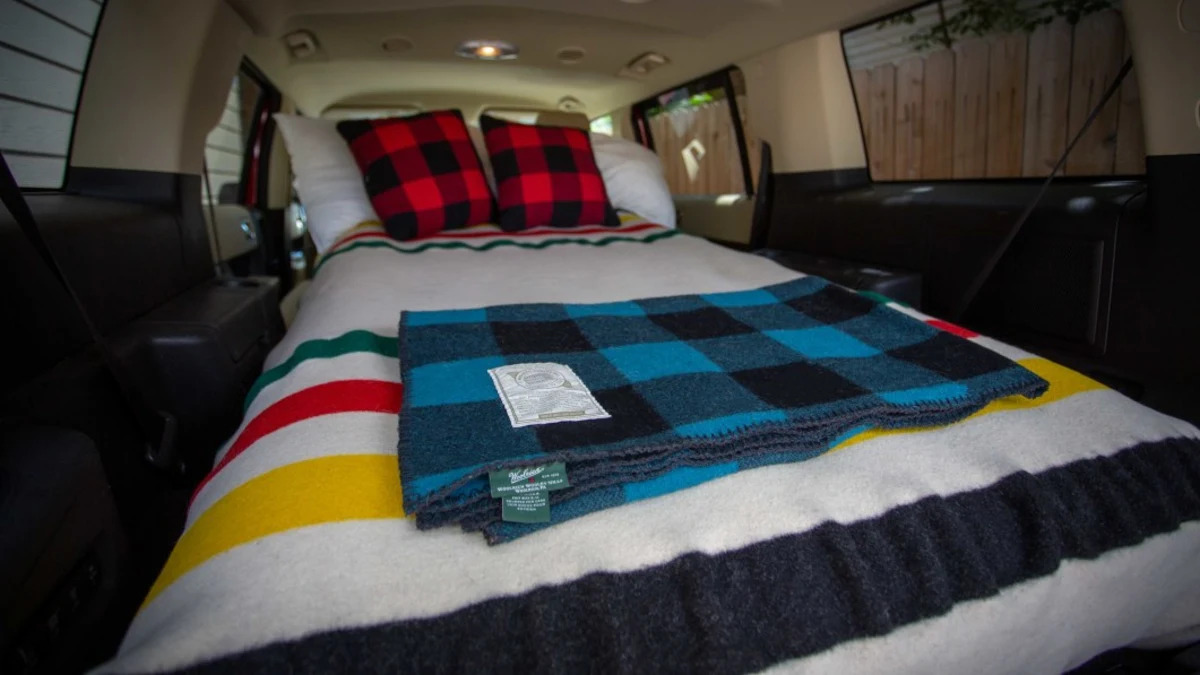
Camper van conversions have gained significant attention lately, with some conversions rivaling the cost of a house. While once associated with a lifestyle embraced mostly by those facing hardships, the narrative has shifted. Thanks to platforms like Instagram and various social media channels, living in a van has evolved into a symbol of prestige. However, the portrayal often spotlights the perks while overlooking the challenges (such as the struggle of finding a restroom during nighttime). It’s essential to consider whether an expensive vehicle conversion is truly necessary. There are compelling reasons why I choose not to convert my Crosstrek or Flex into full-time campers. These vehicles serve as our daily drivers, accommodating car seats, friends, family, and even our two medium-sized dogs. With such varied usage, permanent kitchen or bedding arrangements aren’t feasible. The silver lining is that we’ve mastered budget-friendly sleeping solutions, frequently spending nights comfortably in the car. Upon returning home, a quick cleanup restores the car’s standard configuration. All of this comes at a cost of less than $100.
Is it the best setup ever? No. But before you judge, check it out for yourself.
Sleeping Setup
Air Mattress – $14.88
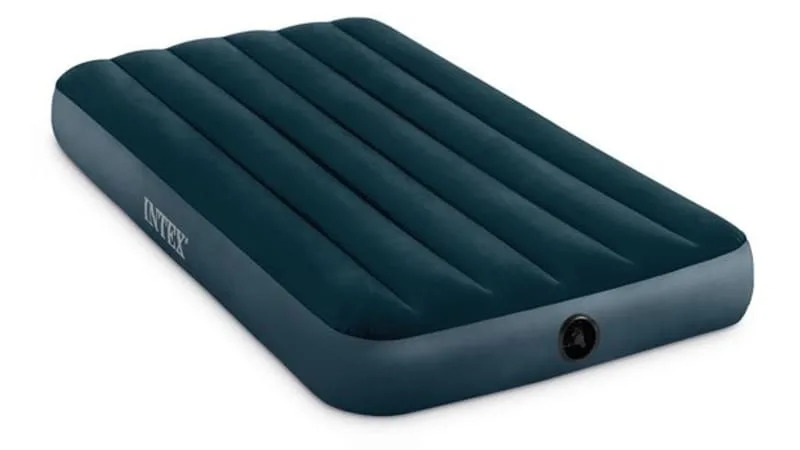
Grab your measuring tape, lay down all of your seats and see what size mattress works for you. When it comes to the vehicles I have in my garage, a twin size fits the back of my Crosstrek perfectly, and it is thick enough that it eliminates the bump in the rear. My Flex can handle a slightly larger mattress, but since I want this to work for both I stuck with the twin. It’s not the nicest model that you can buy, but considering I’ve bought six-packs for more, it is pretty dang good.
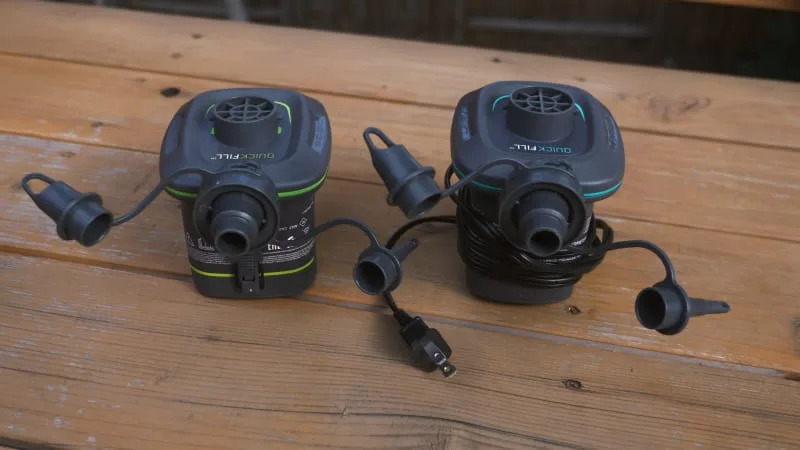
A plug in air pump sometimes feels like an incredible luxury to me and I’m not exactly sure why. Maybe I feel like camping should involve me having to inflate a mattress myself, but in this day and age, when a lot of cars come with an AC outlet, why make yourself lightheaded by blowing up your mattress manually? This one will plug into any AC outlet and costs so little that I can’t believe I even thought about not getting it. If you don’t have an AC outlet in your car they make both a DC 12V that’ll plug into a cigarette lighter or a 6-C battery powered one that doesn’t need to plug into anything.
Window Screen – $8.98

Stagnant air in the car at night is the worst. Well, second worst. Mosquitoes are the worst. Thankfully these window screens solve both of those problems. They cover the entirety of the windows so you could roll them down completely if you want to. I only roll them down a few inches. Open enough for quality air flow, closed enough that if a bear or other creature wanders by, they can’t easily get into the car before I wake up and get the heck out of there.
DIY Window Shades – $YMMV
In addition to window screens, blackout window shades are great for privacy, as well as keeping the heat in or out, depending on the time of year you happen to be camping. They’re fairly easy to make too; all it takes is some foam core, reflective insulation and some tape. Check out the video above to figure out how to make your own.
Another more permanent option is to tint your windows. Laws on this vary from state to state, so make sure to do your research beforehand, but tinting windows not only can add privacy and block harmful UV rays, but also helps keep your vehicle cooler during those blistery hot summer months.
Blankets and Pillows – Already have
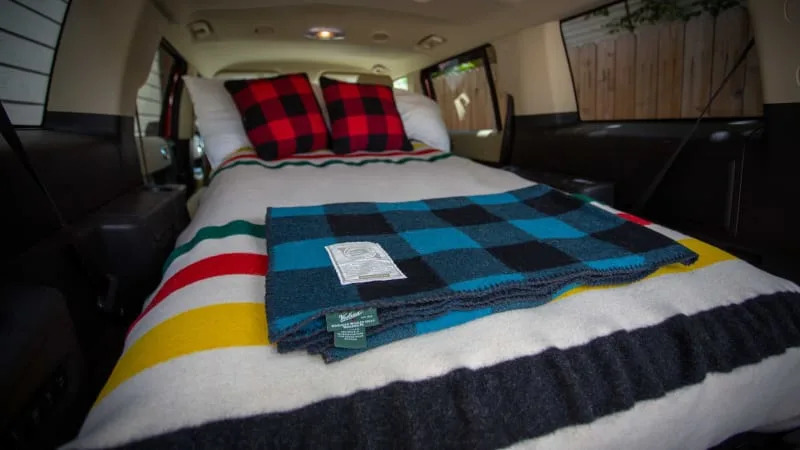
Most of us already have blankets and pillows. I use the ones I sleep with at home.
Kitchen Setup
Stove – $15.99
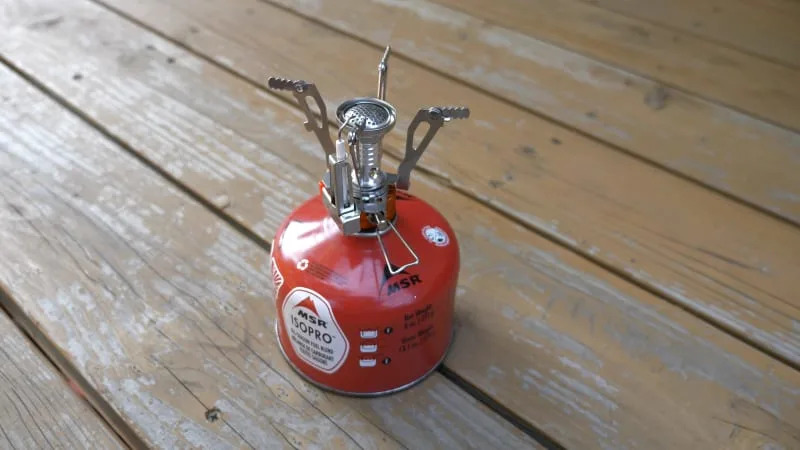
In addition to sleeping, eating is a rather important part of any camping trip. A lot of campsites have fire pits or charcoal grills available, but if not, there are still ways to enjoy a quality meal for cheap.
This ultralight stove is made for backpacking, but it’s just as good at a campsite. Plus, it takes up very little space inside your car. I keep one with me at all times, so even if I’m on a road trip I have a way to make a hot cup of coffee if there’s none available nearby.
Table – $19.88
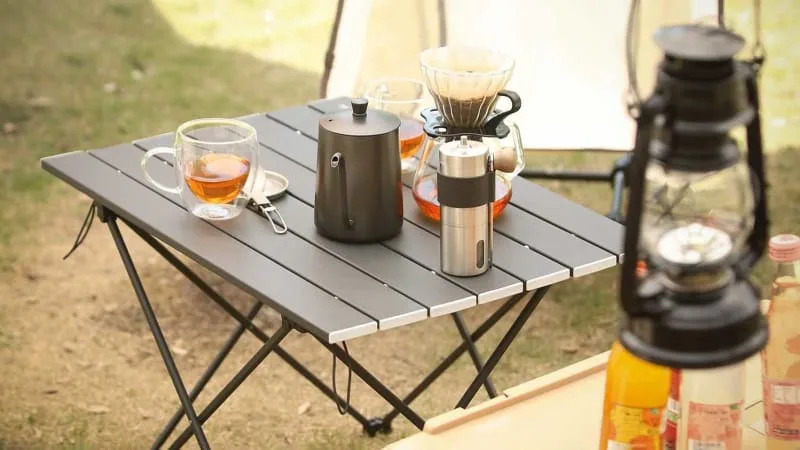
This is another item that is usually available at a campsite, it is also the most expensive item on this list, so you may be able to forgo it and save some change. If not, a table like this can feel like a luxury if you’re used to eating your meals on the ground while camping. At 11.2 inches it isn’t true table height, something like that will set you back a bit more, but it folds up and away so storage will not be a problem. If you’re camping with others, the medium size for $29.99 might be a better option.
5 gallon water jug – $14.46
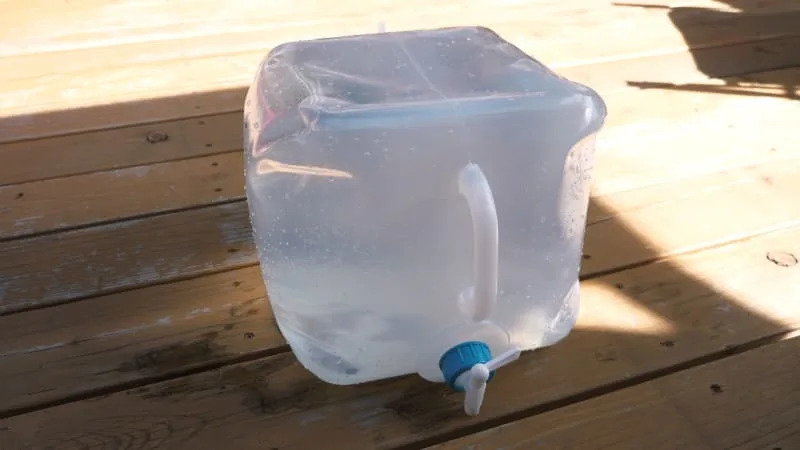
When my wife and I first started car camping I bought a 6 gallon jug with a spout. It’s big, heavy, takes up room even when it is empty and unwieldy to pick up and pour from when full. This collapsible jug is superior in almost every way. The spout in particular is much easier to use and since you’ll be using water for everything from cooking and cleaning to drinking and washing dishes, this is a must have.
Cooler – Already have
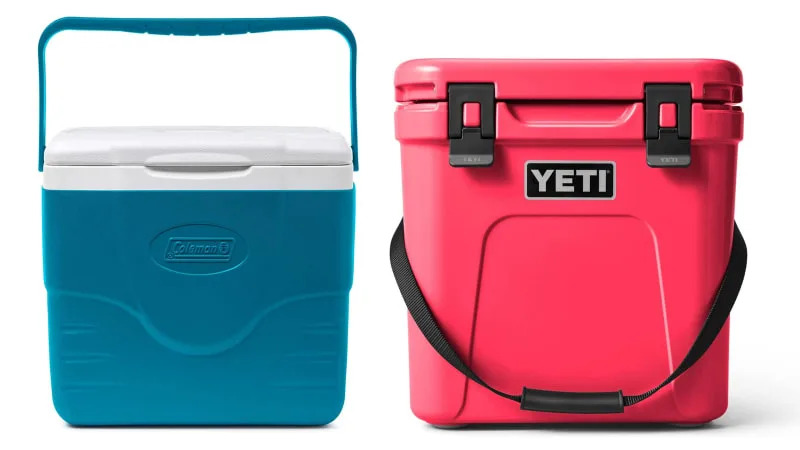
The cooler may be the biggest expense when it comes to a camp kitchen setup depending on what your needs are. A 9 quart hard-sided Coleman will set you back about $17, but a Yeti large enough to hold an elk will cost into the thousands. Most people already have one but if you’re just starting out I’d recommend going the inexpensive route and figuring out what you need down the road.
Throw these items in your car and you’re well on your way to a cheap version of van life that is easy to setup and tear down. It may be tempting to go big and get all the high end equipment right away, but going this route will allow you to easily upgrade based on your needs instead of what looks great on instagram. Plus, if you find out 16 days in that living out of your car isn’t all it’s cracked up to be, you won’t have had to sell your house to learn that lesson.


