The past several years have been interesting for the movie business. Rocked by the global pandemic that saw audiences reluctant to return to theaters, then two massive strikes from Hollywood’s major actors’ and writers’ guilds, the future of cinema became an uncertain one. But as audience consumption habits change, home theaters have become the new cineplex. More movies than ever are now being released directly to streaming or after a very short, award-qualifying run on the silver screen. But a great many TV owners have no idea that they’re not having a good or accurate movie watching experience.
If you’re wondering why movies don’t look good, the problem might be your TV rather than the films you’re watching. Every step of the filmmaking process is meant to create a specific experience, from the camera chosen to shoot the raw footage to the color grading applied in editing. While theaters are built to accurately represent these qualities, TVs must be calibrated and optimized to achieve similar results.
In this guide, we’ll explore the television tweaks to make if you want near-cinema quality from the comfort of your couch. From color to contrast, we’ve got you covered, so here’s how to optimize your TV for movie viewing.
Turn off motion smoothing
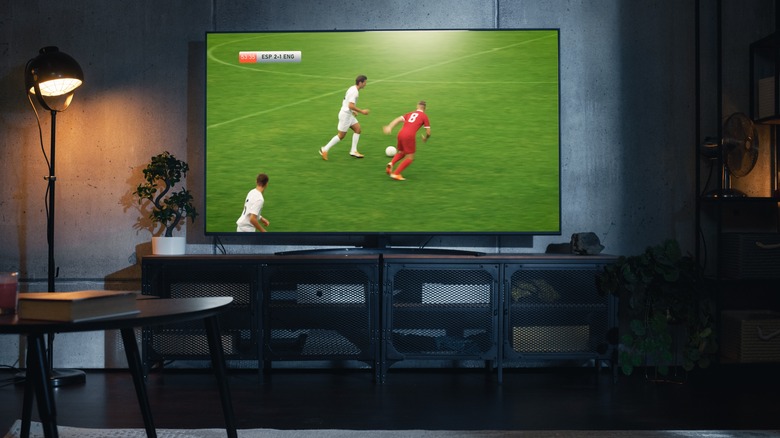
Of all the advice you’ll hear as you endeavor to create prime movie-watching circumstances on your home television, the most repeated will be to turn off motion smoothing. While it can be a useful feature for sports viewing, this feature can ruin a movie. Motion smoothing will make movies look dull and artificial because it adds extra frames to the movie that don’t exist. For a more robust explanation of this technology, see our explainer on TV refresh rates and picture quality.
Motion smoothing is a technology that can make video content appear more fluid by artificially increasing the frame rate. Video files are a series of pictures played back at a constant frame rate measured in frames per-second (FPS). For instance, a 30 FPS video displays 30 frames in a single second. Motion smoothing creates new frames between them, turning that 30 FPS into 60 FPS. When watching sports, this can help you see players and ball movements more clearly. Movies are different. Adding frames that weren’t there can change the movie entirely, since you’re adding pictures the filmmakers didn’t create. Moreover, movies are generally filmed at 24 FPS, which means they look artificial when motion smoothing is enabled, losing the classic “feel” of a movie.
Depending on your TV brand, motion smoothing may go by a variety of names. Here’s a quick guide:
- Amazon TV – Action Smoothing
- Google TV – Motion Clarity
- Hisense – Motion Enhancement
- LG – TruMotion
- Roku – Action Smoothing
- Samsung – Auto Motion Plus
- Sony – Motionflow
- Vizio – Smooth Motion Effect
What about Dolby Vision?
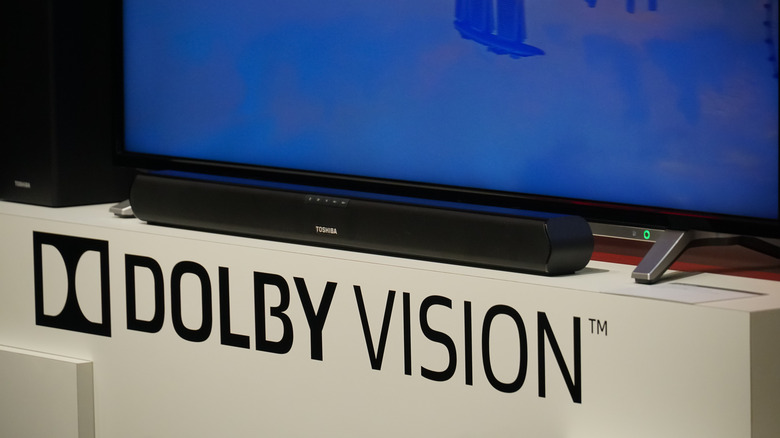
Some televisions these days come equipped with a picture-tuning feature called Dolby Vision. Dolby markets Dolby Vision as an upgraded version of HDR, the technology that helps to enhance dynamic range and color reproduction. Unlike regular HDR, which applies universal settings to a screen that has it enabled, Dolby Vision uses dynamic metadata in a video file to tell your TV what settings to use. Movies made with Dolby Vision encoding essentially contain a set of instructions that tell Dolby-capable TVs how to display them properly, thus ensuring that your viewing experience is as close as possible to what the director intended. Some of the specifications included in that metadata help to control luminance range, color spectrum, and HDR brightness. It can even control aspect ratio and frame rate.
Dolby Vision will usually be found as a picture mode option on TVs that support it, and some TVs will even have multiple versions of it. For example, TCL Roku TVs have Dolby Vision Normal, Dark, Bright, and Gaming modes. If this is the case on your television, you should start with the Standard mode, since it is likely to produce the most accurate results. However, depending on your TV, you may find that another mode is better. For example, some enthusiasts feel Dolby Vision Dark is the best setting for Sony Bravia televisions, while others disagree. However, in the context of movie watching, you should always avoid Dolby Vision Gaming, as it exaggerates brightness, contrast, and color.
Consider filmmaker mode
Wouldn’t it be great if the director of a movie could come over to your house and change your TV’s settings, ensuring that you get the experience they intended while watching their movie? Well, that’s unlikely, but the next best thing is a setting called Filmmaker Mode that’s included on some TVs. It turns off all the settings that add extra frames or otherwise manipulate the source image of the video file, while striving to utilize your TV’s entire range of contrast and color reproduction. It will also ensure that you’re watching in the correct aspect ratio and frame rate. The ultimate goal of Filmmaker Mode is to replicate as closely as possible the experience of seeing a movie in theaters, where films are most often displayed via specialized projectors. Filmmaker Mode is TV makers rallying against the soap opera effect.
Filmmaker Mode has been promoted by titans of cinema including “Killers of the Flower Moon” auteur Martin Scorsese and “Dune: Part Two” director Denis Villeneuve currently available on TVs sold by Benq, Hisense, LG, Panasonic, Philips, Samsung, TP Vision, and Vizio. The Ultra High Definition Alliance, the organization behind Filmmaker Mode, hopes the mode will come to screens from more manufacturers in the future.
Tuning tips you might want
While it’s nice to have broad, sweeping modes like Dolby Vision and Filmmaker Mode, not all TVs come with those options, and even on those that do, you should make sure your TV’s more granular picture settings are correctly tuned as well. If you’ve ever done a dive into your screen’s picture settings, you’ve no doubt seen a laundry list of settings ranging from simple things like brightness to more inscrutable settings like gamma. All of these will need to be dialed in if you want to get the best movie watching experience.
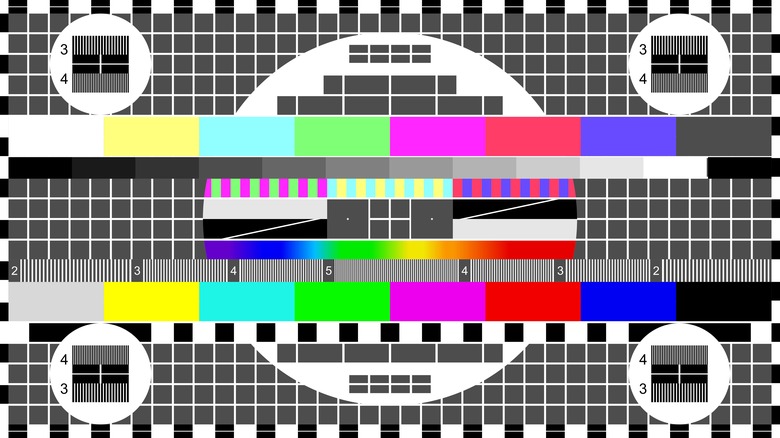
Unfortunately, there is no one-size-fits-all approach to tuning your TV picture. Each TV is different, so your best bet will be to use test images like those found in this YouTube video. Alternatively, you can buy a benchmarking disc with patterns. Spears and Munsil is one of the foremost brands to provide these. By adjusting your settings to conform with these images, you can ensure that your TV meets a baseline of image accuracy. Mke sure you familiarize yourself with your TV’s settings menus, which can sometimes be quite complicated. In the next section of this article, we’ll provide a brief overview of what each picture setting does and how to know if you’ve tuned it correctly.
You should also be aware that some TVs retain settings universally when you change them, while others only apply settings on a per-input or display mode basis. After you calibrate your settings, switch your TV to a different input to check whether the settings are also applied to that input. If not, you’ll need to reapply your preferred settings for each input.
How to understand basic TV picture settings
Here are the most common TV picture settings and how to adjust them:
- Backlight: how bright the individual LEDs are in the panel. Adjust based on the brightness of your room.
- Brightness: how deep the blacks are on your screen. On a gradient of black to white, adjust this until you can see deep black on one end and pure white on the other.
- Contrast: The difference between the lightest and darkest part of an image. On a contrast test pattern, adjust until you can distinguish between different shades of white.
- Sharpness: How defined the borders of objects on screen appear to be. Turning this up too high will create artificial looking lines around objects, so keep it as low as possible as a general rule.
- Color: usually refers to the level of saturation in an image. The movie or cinema mode on your TV usually has this tuned correctly, but to tune it yourself, you’ll need a test pattern.
- Tint: the amount of red-green in the image. This is usually calibrated correctly in your TV’s movie or cinema mode. To calibrate it yourself, use a test pattern.
- Local dimming: controls backlight zones for more control over contrast. Your TV may refer to this by a different name, but if you have it, you should turn it on.
Hopefully you’re now closer to mastering the settings on your TV. And just like that, if you’ve followed the tips and tricks in this article, your TV should now be ready to display the latest movies in the most accurate way it’s capable of. All you need to do is make some popcorn and press play!

